Your RV furnace keeps you cozy on chilly nights. Have you ever wondered what’s going on under the hood to make that happen? Beyond just turning a dial, there’s a whole process that works to safely heat your coach. At the heart of it is a small device called the sail switch. The sail switch on RV furnace plays a key role in running the heating system.
Without the switch doing its job, that comforting warmth might not flow no matter how high you set the thermostat. We’ll explain exactly what this component is and what it does. You’ll also discover the signs that tell it’s time for cleaning or replacing the switch.
What Is a Sail Switch on RV Furnace?

The sail switch on RV furnace is an important safety component of a propane furnace system. It makes sure that the furnace only operates when conditions are safe.
The switch sits inside the furnace and monitors the fan that circulates air through the vents. If the fan isn’t blowing at a strong enough speed, it will prevent the furnace from even trying to ignite. This helps avoid problems that could arise if combustion wasn’t properly supported.
Sometimes the batteries may run low and not spin the fan fast enough. In those cases, the sail switch steps in to cut off the gas, so nothing risky can happen.
Essentially, the sail switch acts like a guard at the gate. It only lets the furnace begin heating if the fan rotates at the right speed. Without the all clear from the switch, the gas valve stays closed and no fire can start.
In a word, the sail switch makes sure everything else in the furnace is running smoothly before allowing the heating process to start. A properly working switch gives you peace of mind down the road.
RV Furnace Sail Switch Location
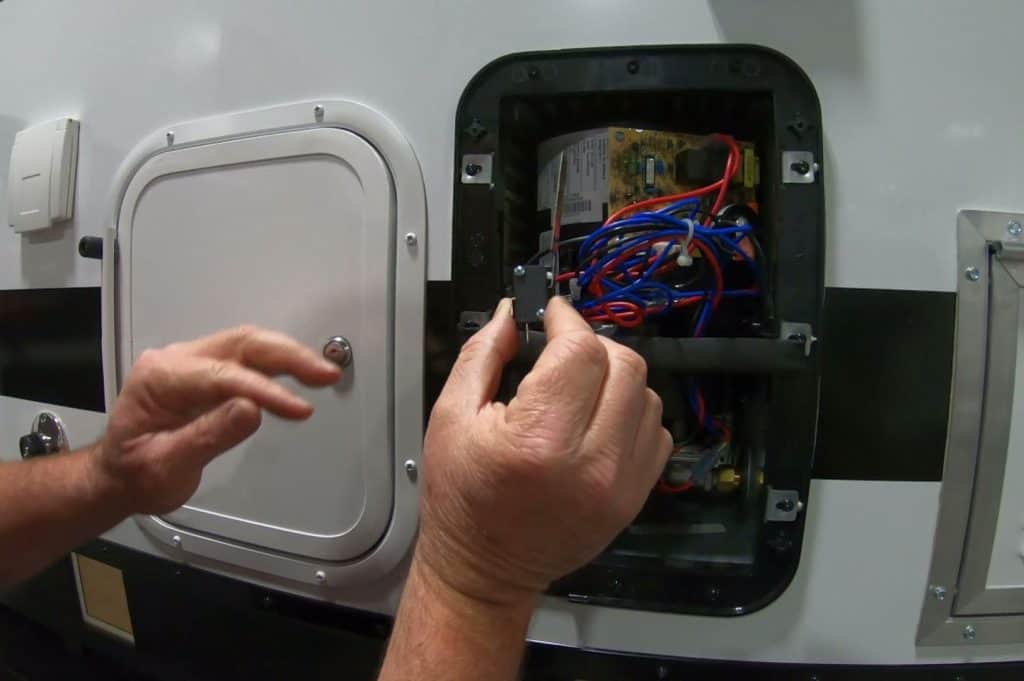
You need to know the exact location of the sail switch on RV furnace for its cleaning and replacement. It sits inside the furnace’s ductwork. Its job is to shut things down automatically if the furnace ever overheats for any reason. Basically, it acts like a little safety valve.
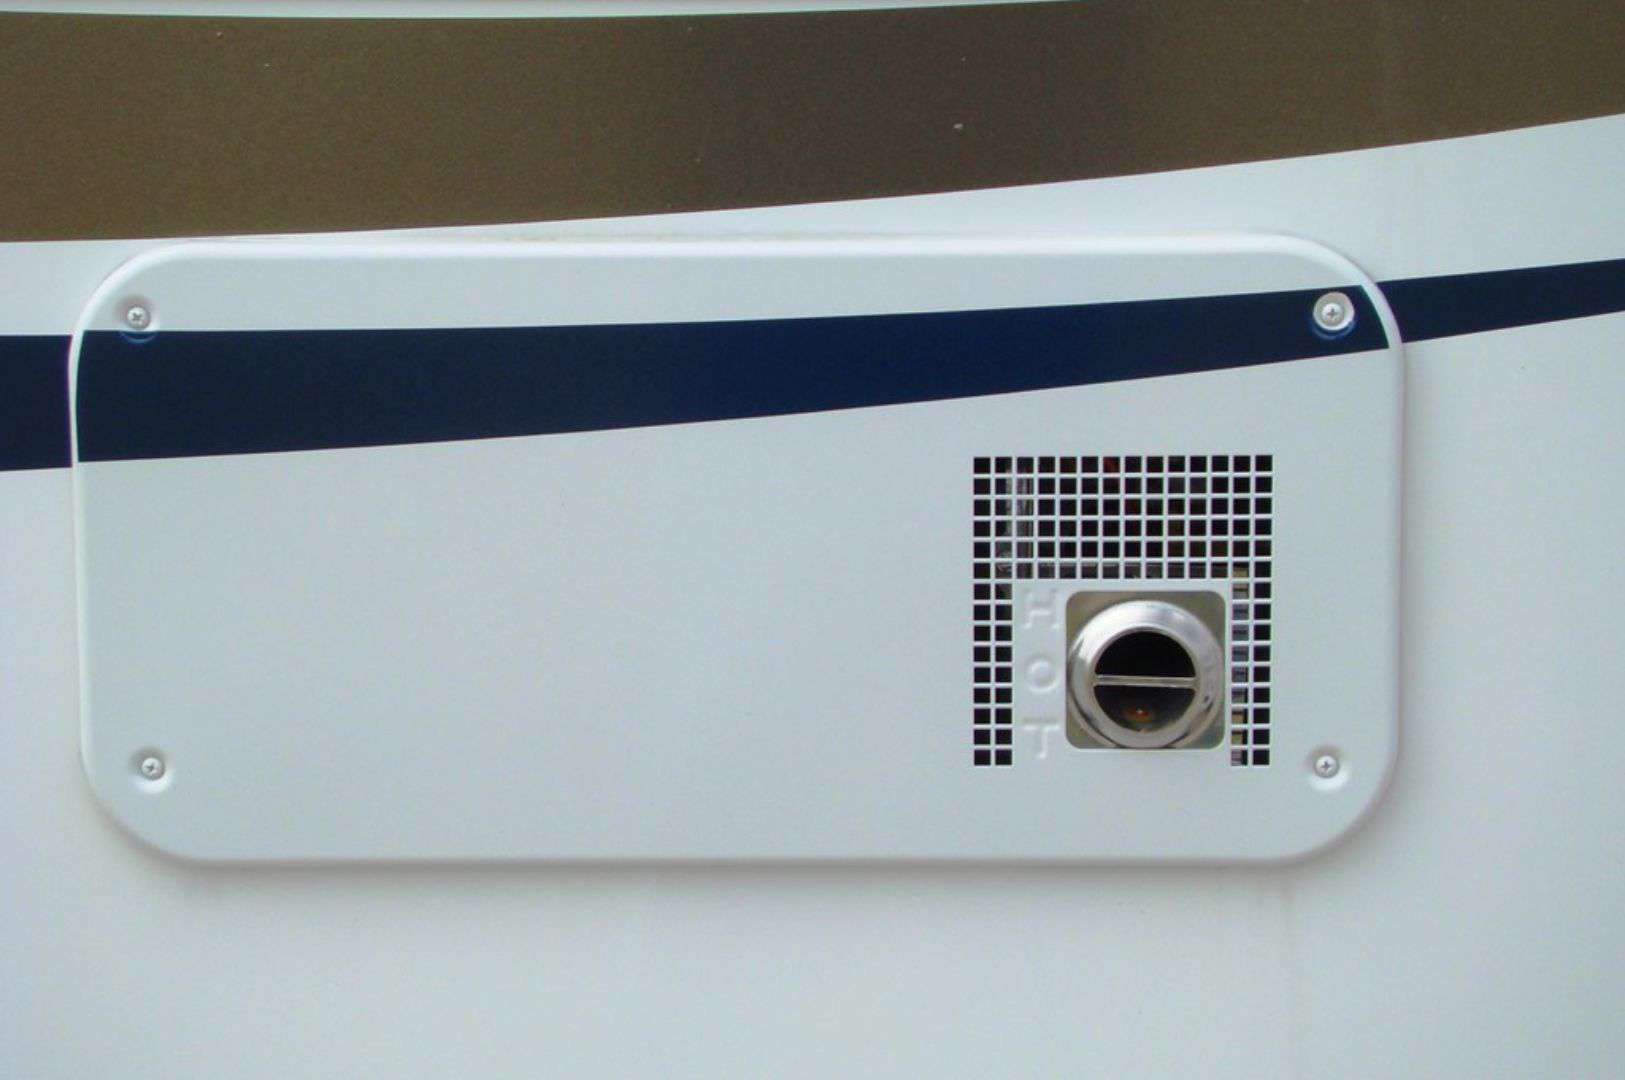
Chances are there’s an access panel on the outside of your RV that gives you a view inside the furnace area. That’s where the sail switch will be, inside the ductwork somewhere near the burner. It may not be visible right away but you’ll see it by following the duct back from the burner.
No access panel? No worries. The sail switch should still be reachable once you take off the furnace’s outer casing. Just be careful poking around moving parts if you go this route. With the panel, it’s totally exposed and easy to remove if needed.
Symptoms of a Bad RV Furnace Sail Switch
The sail switch on RV furnace is a crucial safety device. It prevents the furnace from operating when it detects inadequate airflow. So, if your furnace isn’t producing warm air even when turned on, it’s a sign the sail switch may be faulty.
Some of the signs are:
Furnace turns on but doesn’t blow warm air
One common symptom is that the furnace will turn on for its startup cycle, but then shut off without ever blowing warm air.
You’ll hear it try to ignite the pilot light, but then it just quits. This usually means the switch doesn’t detect enough airflow to engage.
Furnace blows cold air
Another issue is that the propane furnace may blow, but only blows cold air no matter how high you set the thermostat. The furnace can’t achieve ignition and stay lit without the sail switch verifying good airflow.
Fault lights on the control board
There are also diagnostic lights that can help pinpoint problems. If the furnace immediately shuts off after 30 seconds with a single flashing fault code, nine times out of ten that means the sail switch is dirty or bad.
Battery issues
Low batteries in your RV can also starve the blower motor of enough power to trigger the sail switch. So replacing or recharging batteries is sometimes a remedy.
When a furnace simply doesn’t produce warm air or stay running, inspecting and cleaning or replacing the sail switch is usually the first step to fixing it.
How to Do the RV Furnace Sail Switch Test
If your RV furnace isn’t working like it should, one thing to check is the sail switch.
Testing it is pretty simple. Just grab a multimeter, set it to measure ohms (resistance), and connect the leads to the two posts on the switch itself. With it open, you’ll see “OL” on the multimeter screen, which means it’s reading an open line. No current can flow.
Then, gently press the switch closed by hand. If it’s working right, the meter will show a reading between 0.0 to 0.2 ohms. That tells you there’s a complete circuit when the switch closes.
The sail switch on RV furnace keeps the furnace from running if the vent outside gets clogged with dirt, leaves, or anything else. So it has to open the circuit normally. Then, when everything is clear outside, it can safely close up and allow the furnace to fire up.
Cleaning and Replacing the Sail Switch
If your sail switch test results reveal minor issues like dust buildup or light corrosion, cleaning may do the trick. Gently remove any debris lodged inside the assembly or switch paddles using compressed air or a small brush and solvent like isopropyl alcohol.
Take care not to bend or stress any Internal components during cleaning. Inspect for any physical deformities after. As long as the paddles still move smoothly without resistance, there’s a good chance some light cleaning is all that’s needed to restore proper operation.
However, if testing shows more significant issues like stuck or resistant paddles, It’s generally best to just cut your losses and opt for a replacement sail switch on RV furnace. These parts aren’t made to be repeatedly cleaned and repaired. Even minor distortions can impact the critical pressure thresholds they rely on.
When choosing a replacement, always get the exact OEM part matching your furnace model for best results. Generic switches risk improper fit or unintended function changes.

