In a recreational vehicle (RV), everything works on DC power. Appliances will get their power from the RV batteries and charge while driving. But wouldn’t it be nice to have AC while you are parked? You will need an inverter to enjoy that luxury. Let’s find out how to install an inverter in an RV and the proper method of wiring it.
An RV inverter converts DC to AC so that you can run your electronics when the power source is limited to just the battery, such as LP generators, RV solar panels, or plain old batteries.
Types of RV Inverters: Which Should be Your Choice?
Before learning how to install an RV inverter, you should have a clear idea about the inverter types. Otherwise, you may choose the wrong one and never get the expected performance.
There are mainly three types of RV inverters:
- Pure sine wave inverter
- Modified sine wave inverter
- Square wave inverter
The best inverter to install in your RV is a pure sine wave inverter. It offers more power than the other types and works more efficiently, but it’s also the most expensive.
A modified sine wave inverter offers less power and is less efficient but is available at a lower price. For an RV whose owner only needs an emergency backup power source, they can buy a square wave inverter. However, this will not run your AC appliances or handle heavy loads effectively.
When you want to go camping in your RV or spend some time on the road with friends and family, you can’t do it for long without an RV inverter installation. You need to have everything necessary to keep things running when you don’t have access to shore power.
A pure sine wave inverter with the correct voltage input (12v or 24v) and output (110v or 240v) will be ideal if you run an air conditioner and other sophisticated electronics.
How to Install an Inverter in an RV in Six Steps
Learning how to install a power inverter in a camper could be a daunting task since it’s related to handling electronics and electrical power. We’ll cover the easiest ways to do it, including required tools, safety advice, and how to wire inverter into RV.
Step 1: Find the Perfect Location.
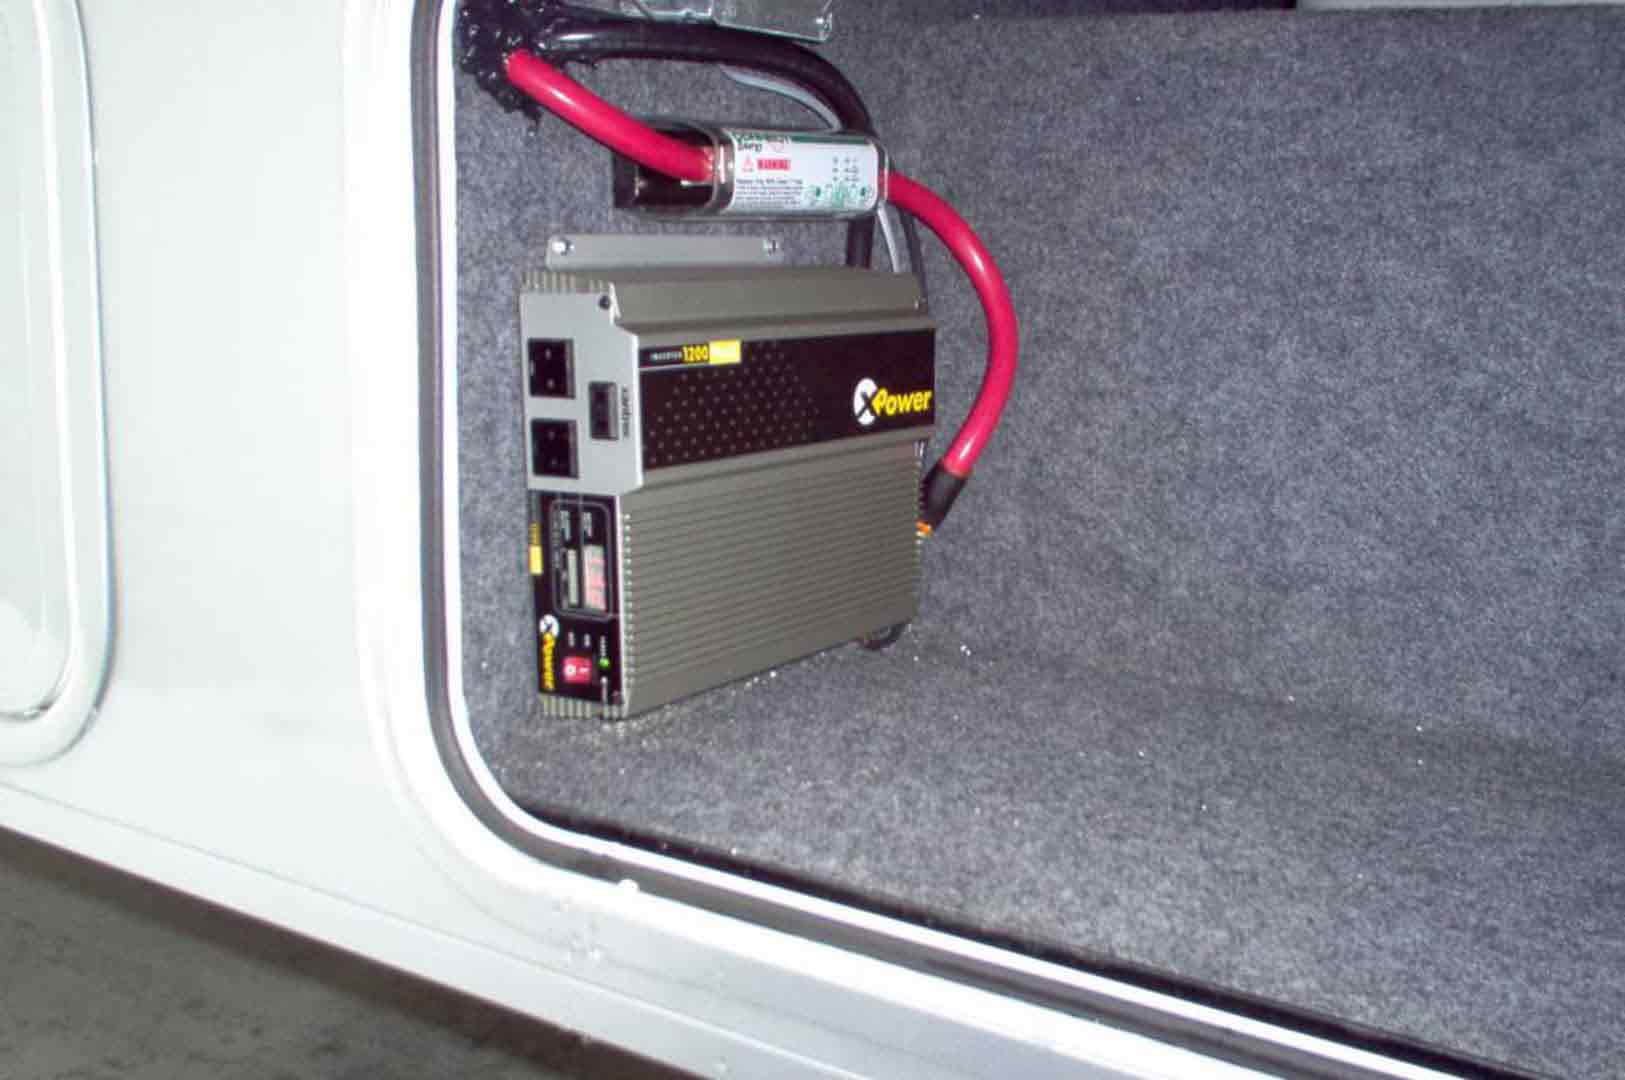
The first step of how to install an inverter in an RV is to find the perfect location. You should pick a good place to access it from outside easily. Also, it should be a protected area that is dry and not too hot.

At the same time, the inverter should be near the batteries for low voltage drops. If your RV has an engine room, it will be better to install the inverter somewhere other than there because gas and electricity do not go together well. It may have potential safety hazards.
However, any place near the battery compartment will be an excellent choice to reduce the voltage drop.
Step 2: Find the Proper Wires.
Follow the instructions in your owner’s manual or inspect the cables. There will be two cables going from the battery to a fuse box. One of these should be labeled as “DC,” and one of them should say “AC.”
The AC cable should be connected to each of the batteries. There should be an input for RV inverters with multiple DC inputs for each battery or bank of batteries connected.
Step 3: Get Ready for Installation.
Ensure that the main power is off, and then wear rubber gloves and safety glasses. Gather all the necessary tools like a screwdriver, wire cutters, a voltage meter, etc.
Read the instruction manual of your inverter carefully before you start with installation.
Step 4: Install the Inverter.
This is the most crucial part of how to install an inverter in an RV. You’ll need to drill the holes where you have chosen to mount the inverter. With a marker or pencil, mark the spots to be drilled.
Using an electric drill and 1/8 inch bit, drill through the metal at each of your marks. Use silicone and sealant tape to cover holes you don’t plan to mount screws or bolts through.
Place the inverter on top of the RV battery (or wherever you’re mounting it), align it with your marks, and check that it fits. Make any minor adjustments necessary until everything lines up correctly, then go ahead and secure it in place with screws or bolts appropriate for your application (check the user manual if necessary).
Mounting hardware should be included with your new inverter if you purchased it from a reputable dealer. Buy high-quality hardware if your one does not have it included. There’s no point buying an expensive piece of equipment only to skimp out on cheap screws.
Step 5: Wire the Inverter into Your System.
Wiring is another important part of how to install an inverter in an RV. If you have one or two AC circuits for shore power hook up during dry-docking, connect the inverter directly to the camper’s battery.

- Related: RV Converter Not Charging Battery
Preparation
The preparation for this step requires:
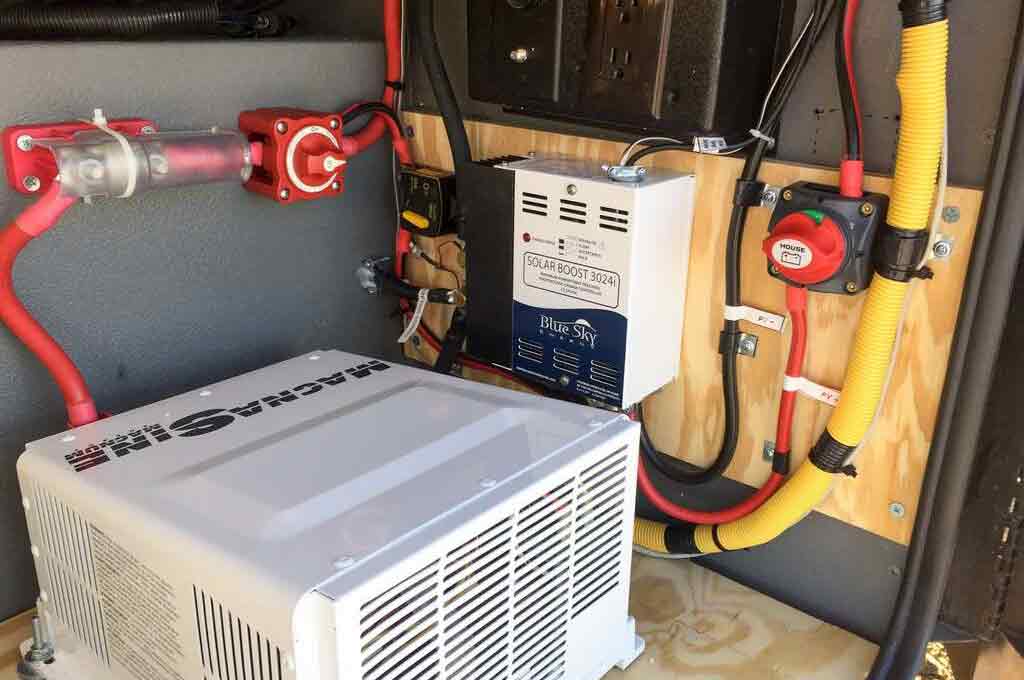
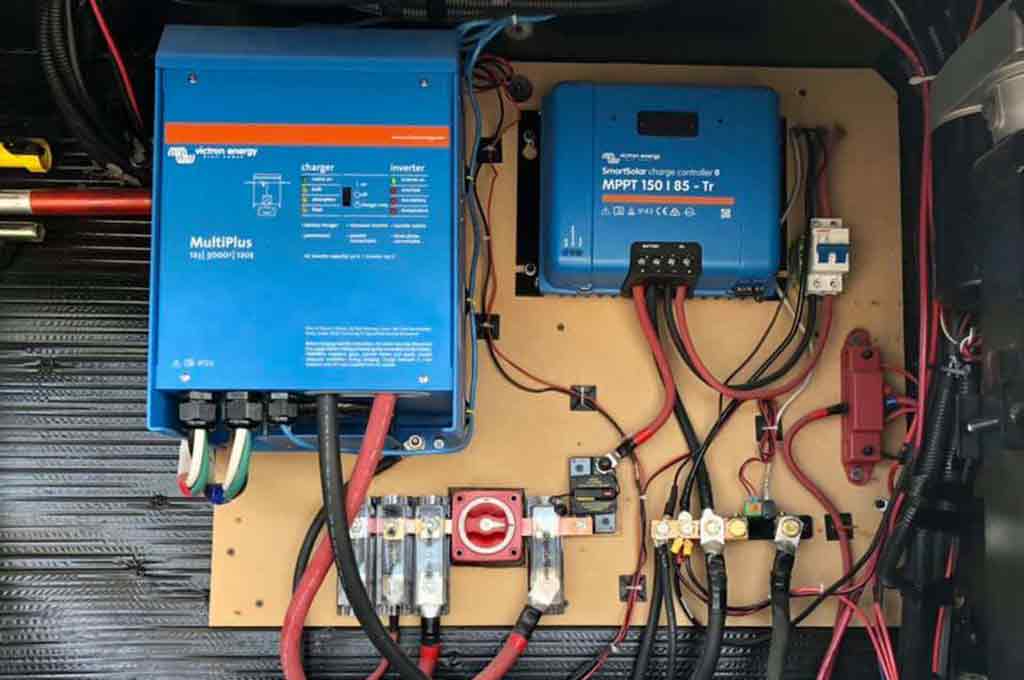
Identifying the fused circuit. The fuse’s size should match the number mentioned in the owner’s manual. If the inverter requires a fuse with 40A power, you have to install an ANL fuse and holder. Otherwise, a blade fuse and holder will be enough. Place the fuse holder securely near the battery or the positive supply busbar.
Grounding the inverter. The inverter’s casing should have a ground connection. Connect it to the grounded chassis point of the vehicle.
Wiring
- Switch off the input and output cut-off switches to isolate the battery bank. Detach the power connection from the RV generator and shore power.
- The positive (red) cable’s one end will go to the fuse holder and the other to the positive side of the battery or busbar terminal. The negative (black) cable’s one end will go to the inverter’s negative side and the other end to the vehicle’s earth point or the earth busbar.
- The second positive cable’s one end will connect to the inverter’s positive side and the other end to the output terminal of the fuse holder.
- The best way to connect the cables is by using crimp or solder terminals. After connecting them, you can use a shrink tube for better insulation.
- Ensure that there is no chance of short-circuiting before you bolt the cable down on the inverter’s casing. Again, make sure that cables do not contact one another or any other metal object.
- While securing the wire, ensure that it does not get pinched between the inverter’s mounting bracket and its casing. If this happens, both components will damage over time when they start rubbing up against each other.
Step 6: Test and Enjoy.
This is how to install an inverter in an RV. The process for an RV inverter charger installation is almost the same. The only difference is that the inverter/charger is connected to an AC power source to charge the battery pack.
So, your installation is complete, and it’s time to test the system. First, turn your new inverter on by using its designated switch. If everything is working correctly, you should see a green light on the inverter or hear a beeping noise if it has an alarm. If your system isn’t working, there won’t be any green indicator light visible. Then, it may be worth checking the connections or calling up a professional electrician.

